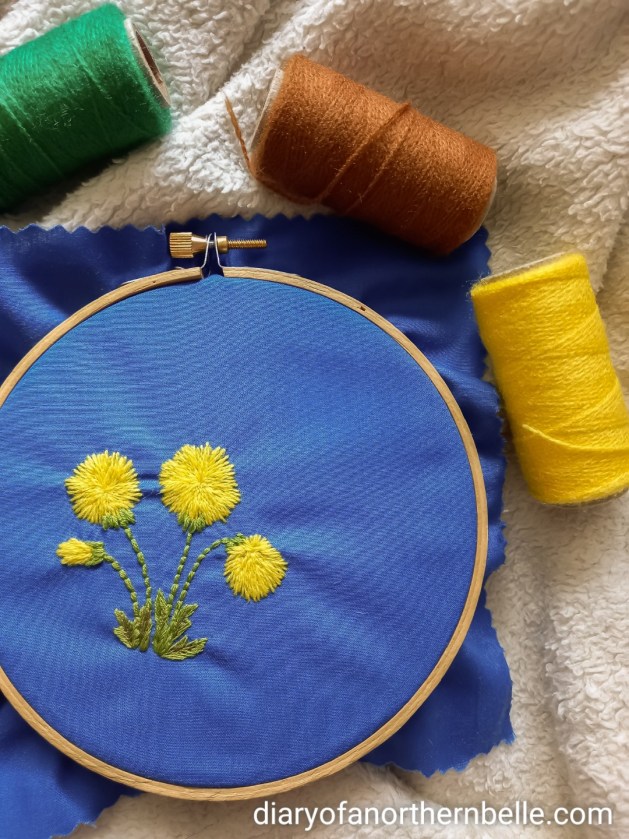
Who’s ready to learn more stitches with me? Today, I’ve put together a tutorial on how to do the chain stitch and the detached chain stitch (commonly known as the lazy-daisy stitch). I absolutely love the lazy-daisy and use it all the time. So I’m excited to share it with you! Back in March, I wrote a post on the first 5 stitches you should learn as a beginner, and I definitely encourage you to have a look at it to learn the basics. Today’s tutorial also features an easy stitch, perfect for beginners and widely used in surface embroidery. So grab your needle and thread & let’s go! For a list of all the materials you need to get started with embroidery, check out this post.

First things first, you’ll need to cut some embroidery floss, about the length of your forearm. I will be using 3 strands of DMC #3818 throughout this tutorial, but feel free to use more (or less). Then, thread your needle and either knot the end of your thread or anchor it to the fabric using any of the methods detailed in this post (or any other way you know of starting embroidery)
The Chain Stitch
I’ll be honest, I really don’t use this stitch very often. I usually kinda forget about it. I really like it though, and it’s super easy. It just never seems to work with anything I’m stitching for some reason haha!
To begin, bring your threaded needle up from the back at point A. Pull the thread all the way through.

Go back down in the same hole (A), and bring the needle up at point B in the same swoop. Don’t pull all the way.


Pull the needle through gently, pulling until the thread forms a loop. Bring your needle through that loop, and pull through.


Sometimes you might need your other hand or the tip of your needle to help guide the loop, as it can have a tendency to twist and won’t lay properly.

Go back down into the same hole again, where your thread currently is (point B), and bring your needle up at point C. This is the same motion as before, when you started your first stitch.

Pull the needle and thread through until you get a loop of thread, just like in the previous steps. Make the sure the needle goes through and then pull all the way so the loop will lay flat.


Keep repeating these steps until you have the chain length you want! Basically, you always go back down in the same hole you came up.

To end the chain, simply take a small stitch on the outside of the loop to close it.


And there you go, that’s the chain stitch!
The Detached Chain or Lazy-Daisy Stitch
If I never use the chain stitch, I most certainly always use its detached version 😉. As you might have guessed, this is essentially a single link of the chain stitch. It’s commonly referred to as the lazy-daisy stitch, and will seem super simple after working the chain stitch!
Begin the same way as above. Bring your needle up from the back at point A. Go back down through A and up in B, pulling until you form a loop. Thread your needle through that loop and pull.


Pull the loop down until it lays nice and flat.


So far, that’s exactly the same as the chain stitch. If you wanted to continue the chain, then you’d go back down in the same hole again and keep going until you got the length you wanted.
But for the lazy-daisy, all you need to do is end the stitch there, as though you were finishing the chain length.
Take a small stitch on the outside of the loop to secure it.

And that’s it!

I can’t tell you how much I love that stitch. It’s so incredibly useful for leaves and flower petals. Plus it’s pretty quick to work!
I hope this tutorial was helpful to you and that you’ll enjoy working the chain stitch and its detached version. I tell you, the lazy-daisy can be such a lifesaver! I used it a lot in my Redwork Embroidery Box Project, and generally love it for small flowers and leaves.

Let me know if you have any more questions about it in the comments, or feel free to share the love for this stitch too 🙂
Fondly,